next will be cutting off the ends of the neck stock to get rid of the bad ends created by the planer and then marking our neck blanks for the 20 degree angle needed for the headstock relief and marking the cuts we need to fit the box lid. the finished neck will look something like the one in the picture below
There will be a fretboard overhang of 1.5" and inside the box the neck will continue in and be glued to the underside of the lid. Plus we will add a heel and drill and tap it to accept a threaded rod that will be tightened against the heel trapping the front side of the box and continue through and ou the back to create a truss that will counteract string tension.
The piece inside will be tapered from the front inside toward the middle of the soundboard to allow maximum resonance with maximum strength. here are the markings for the cuts we need to make . we will be making these marks after we cut our headstock angles but i am showing them to you now so you can see what I'm talking about.
but lets back up and make all the pieces we need for this section starting with the headstock center piece. below are some headstock pieces freshly cut on the bandsaw. our headstock will be three pieces all are 1/2" thick. notice that this these were planed thinner than the neck blanks so thet they will work for the tuners we are using which are simple Stew-Mac open geared tuners that are excellent for the price.
our neck will measure 16.5" from the end of the fretboard ( front of nut) to the front of the box. so first we will mark our headstock angle on both pieces (neck blank and headstock center) , cut it on the bandsaw, and flatten it on our belt sander or joiner if you have one. Mark the pieces at any angle that will work for you. I use 20 degrees.
Not there yet. these angles need to be flat flat flat for a good strong fit.
Now that's much better. notice how tight our joint is. this takes a lot of finesse to do on a belt sander. Notice the reference line. This is not the line I marked in the picture above. sometimes you need to do this a few times, mark sand to the line, mark again, sand to the line and so on. this is why we do not mark for our cigar box until after this operation. I always seem to take off more than expected. also in the picture below I am only using this piece of wood to check the accuracy of the sanding, the wood will not be glued here as you will see below.
it is not as important to sand the neck angle perfect as it is the headstock angle. the angle cut onto the headstock is going to be where our joint is. The angle on the neck will be part of the top of the headstock as shown in the pic below. you can clearly see the four pieces of wood, neck, headstck center and two "ears"
before we glue our headstock on we will mark for our nut thickness of .215" plus a tiny bit of extra so in this case i made it an even 1/4" from the edge of the headstock angle. the we will mark the neck blank at 16'5" and finally make the markings for the box.
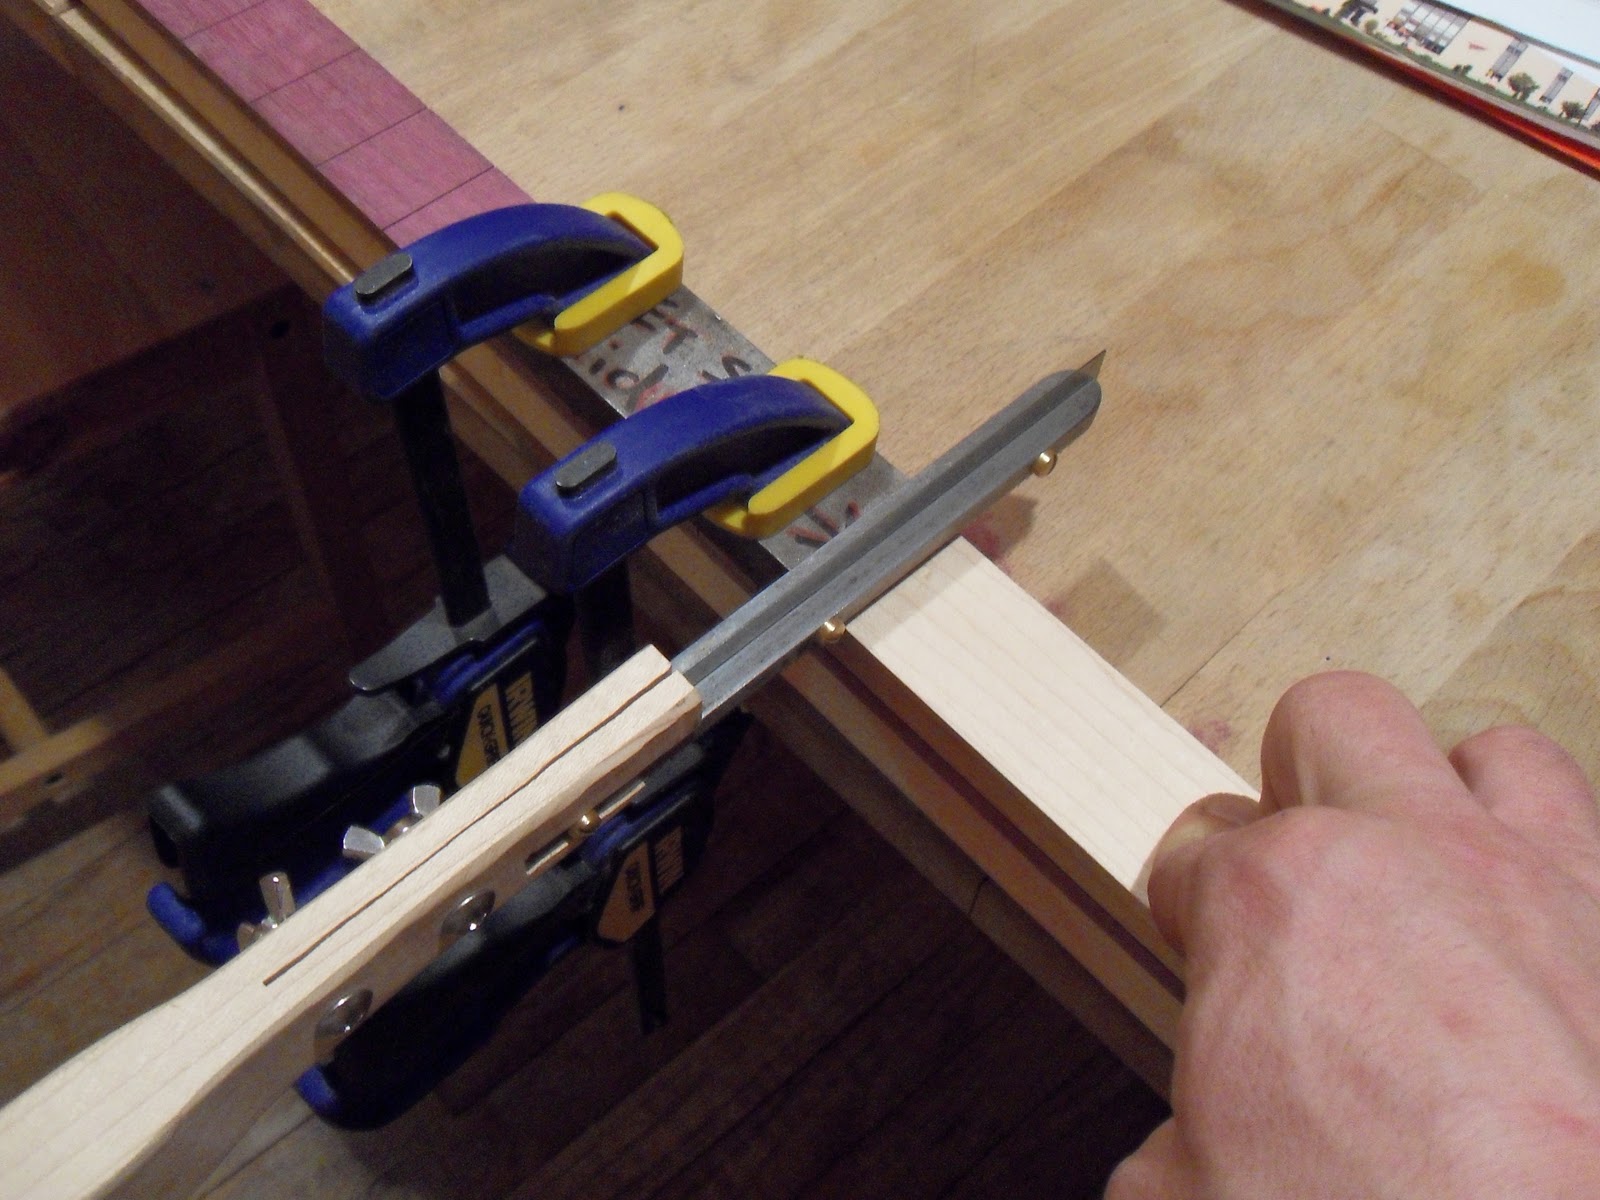
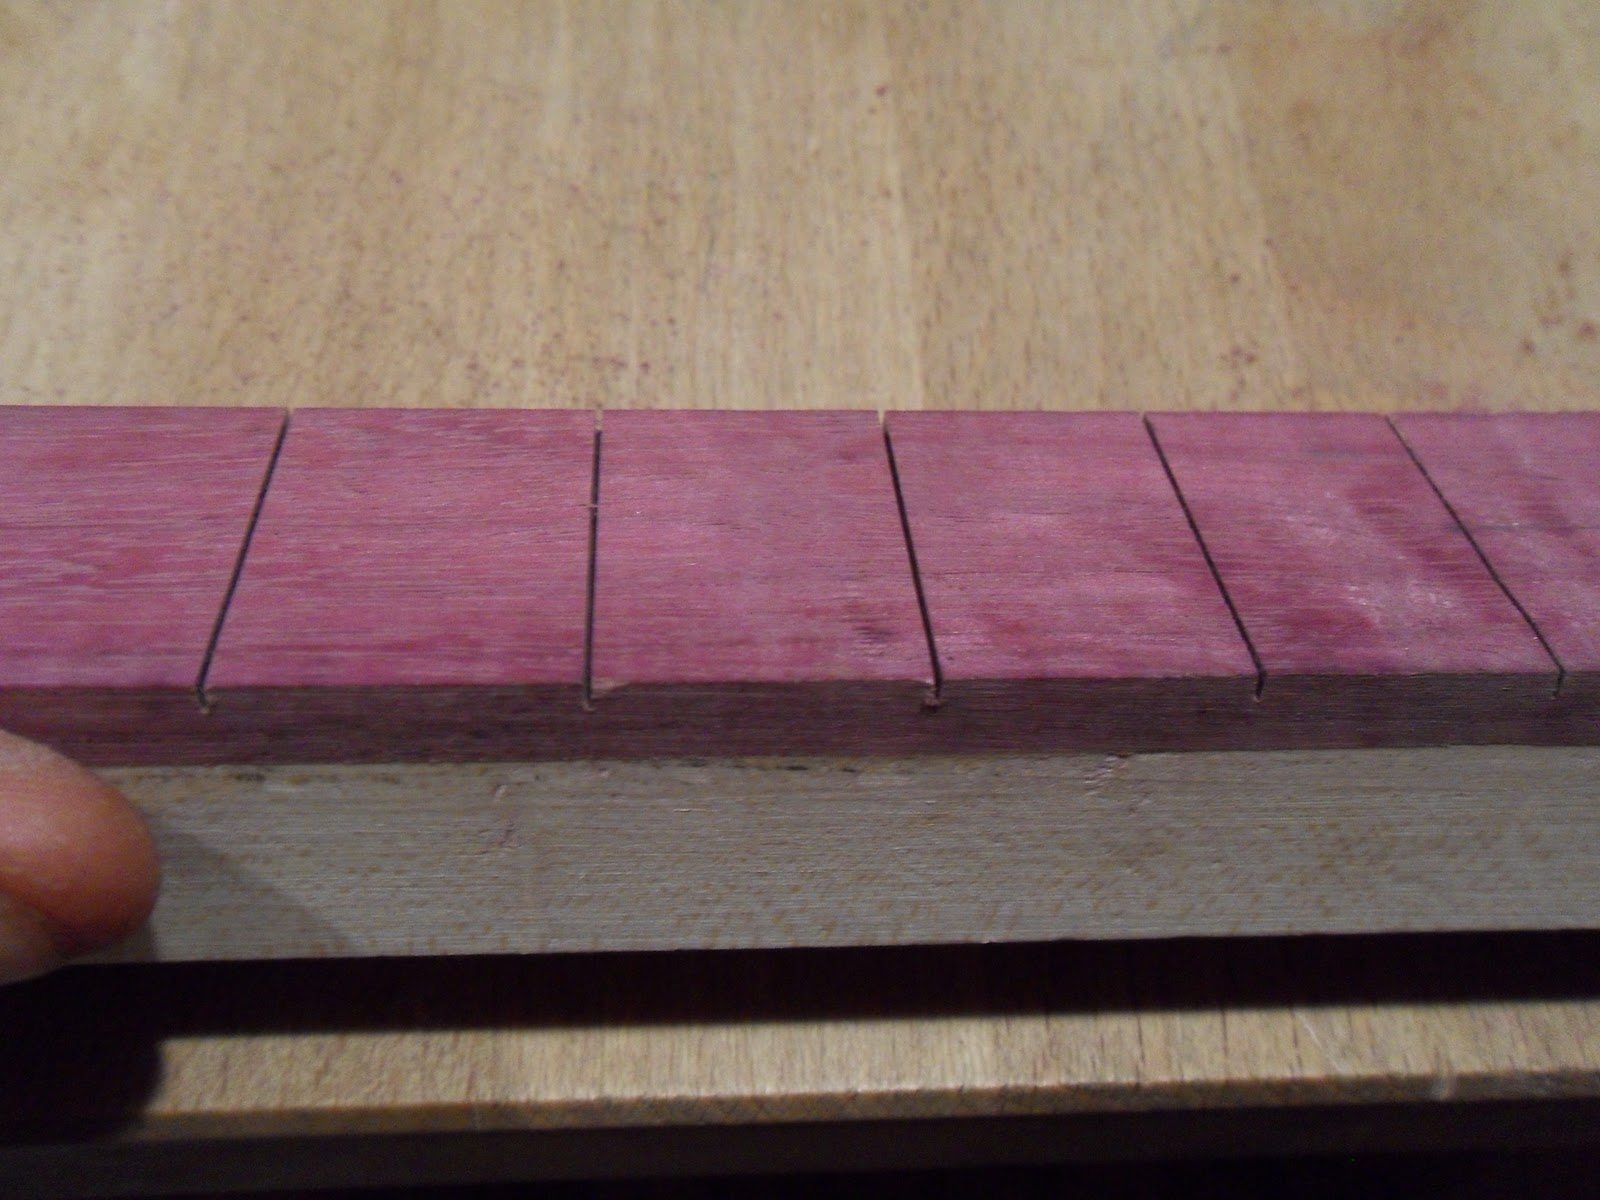
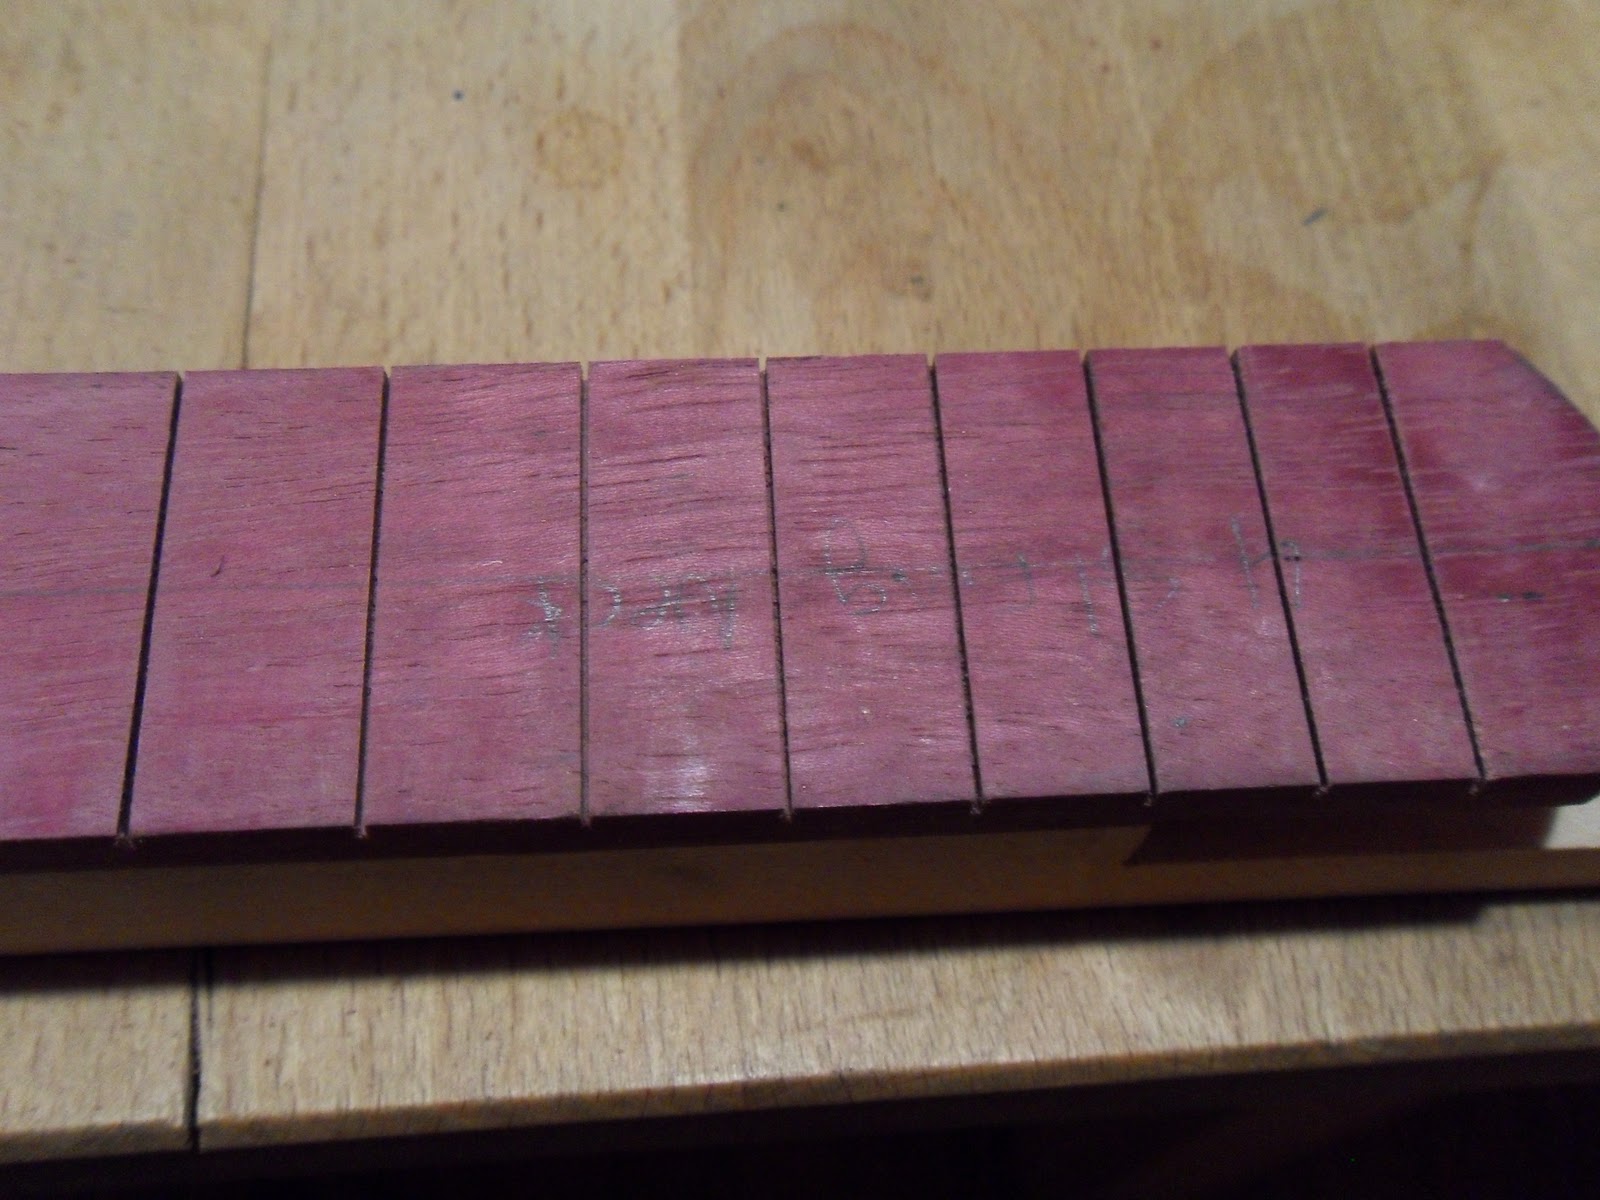
after we have made our cuts we are ready to cut our fretboard to length which is a total of 18" including our 1.5" overhang.


now we are ready to glue our fretboard.so our fretboard doesn't roam around I then lightly sand and wipe with a damp cloth all of the surfaces to be glued, then using our nut blank wrapped in wax paper as a clamping stop, I spread a nice layer of wood glue onto the topside of our neck blank and clamp together. notice the nice thick piece of oak i planed flat to ensure that our neck remains straight and that even pressure is applied. use as many clamps as you can for this. I know I am only showing three but usually I use five or six.
Here are a few pics of a finished cocobolo neck ready to have the headstock glued on.
This is how we will be gluing the headstock.
using a small piece (this is actally our heel piece which is 1.35" by 1.5" by .75) wrapped in wax paper as a clamping guide we get ready to glue our pieces. remember to always assemble everything first and do a test run with your clamps before putting glue on. and also mark both pieces with pencil lines that cross the joint so you can make sure you are accurately clamping them and nothing moves.
you must clamp both pieces down to the table before applying clamping pressure to the actual joint or else the pieces will want to slide apart due to the slippyness of the glue.
notice the markings spanning the joint to make sure we are lined up.
Now we are just gonna have to wait it out. this joint by itself is not very strong but once we glue our ears on it will be rock solid. Note that I usually cut my fret slots before i glue the headstock on but I am not finished making my slotting saw yet so for this one we are doing it slightly out of order.


