Search This Blog

Saturday, March 5, 2011

Making a four string neck part 5 (pressing the frets)

Once i sanded my fretboards how i like them I pressed and trimmed the frets

The pictures tell the story. I used to hammer them but that was a pain in the ass so I made this press. and Also made a few blocks and shims so I can press all the frets up to the high end.notice how I turned my kitchen table into my workshop. this makes my wife so happy.....not.

dig the blurry pics.

 I use a pair of flush cut nippers to trim the ends close so i don't have to file so much.


Brick chisel. I layed about a million bricks in the front of my house with this in it's first life.


Making a four string neck part 4 (beveling the neck)

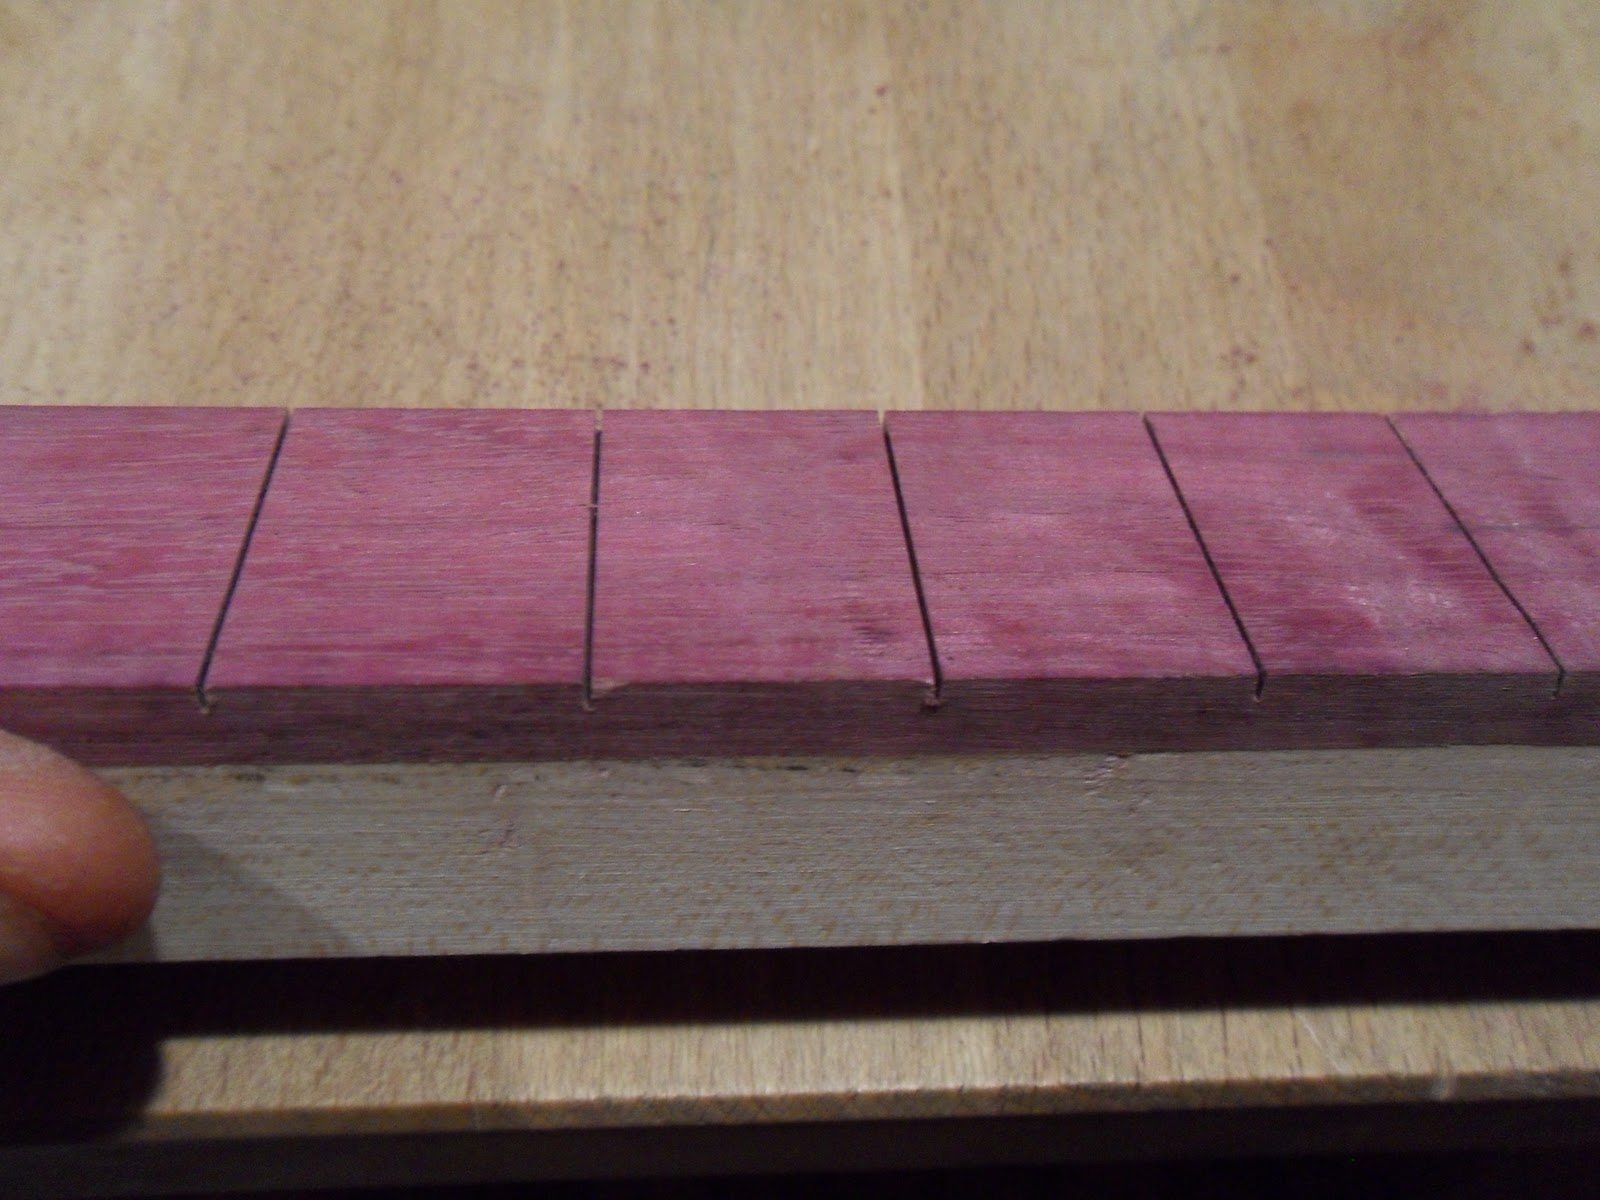
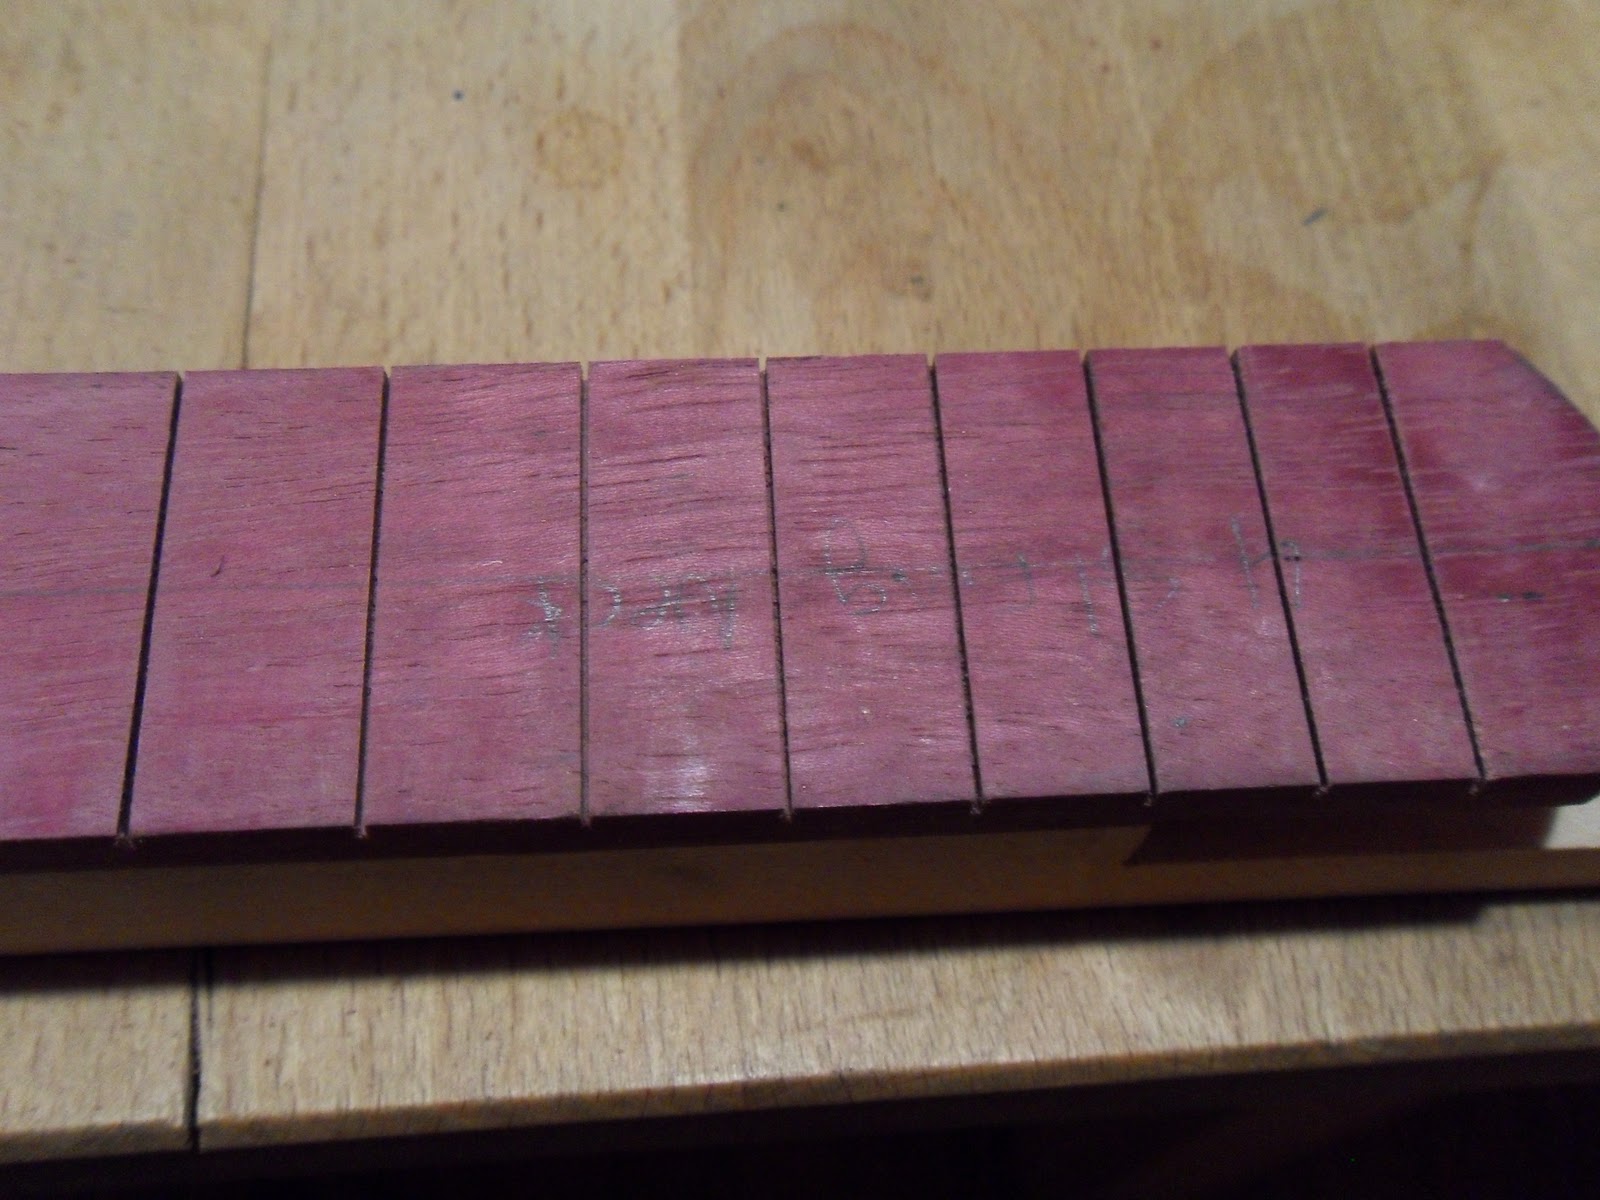
After I cut the frets I am ready to bevel the back sides of the neck on the bandsaw following some guide lines. the neck in cross section will look like the picture below.
 
 I mark the neck .4 from the bottom and draw a line the whole length of the neck (lines with arrow indicators are the two cuts. if you study the next two drawings you'll see what I'm talking about. Cut 2 actually will be done first (don't ask) and the bandsaw will be set at 90 deg. then cut 1 will be done second and the bandsaw will be set to 45 deg.


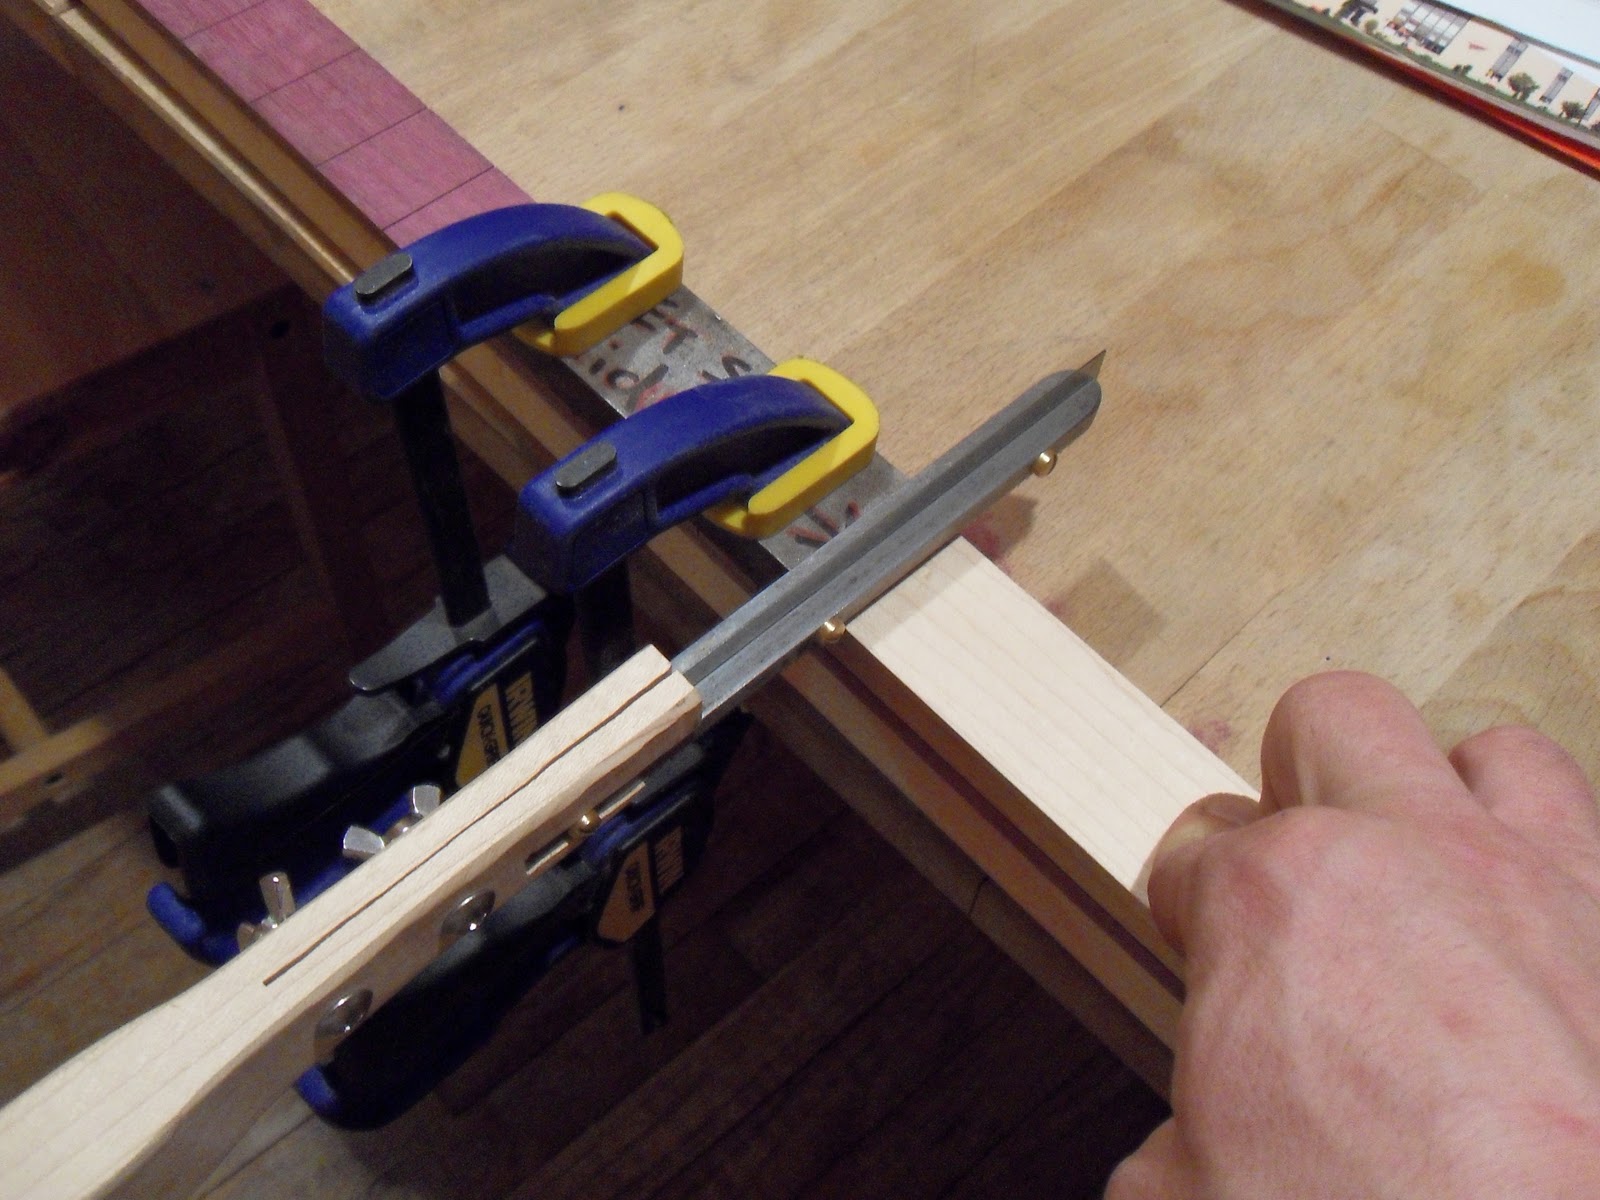
now that I beveled the back the neck will sit nicely in the vee blocks on the fret press. but first I glue on the ears so we have enough wood to make the shape headstock I want. you can put them however you want for the shape you need. I put wax paper wherever the glue will squeeze out and don't worry about over seepage, I can just sand that right down with the palm sander. The ears also strengthen the first (center) joint.


Quick clamps are the bomb.

Friday, March 4, 2011

Making a four string guitar neck part 3 (marking and slotting the frets)


Now we are ready to slot the frets. I square up the nut slot with a nice square file and clamp a dummy nut in to measure from so there is no guessing where I'm measuring from. I charted out my fret distances on a piece of paper and marked the neck with a nice sharp pencil. Mine is a 24" fret scale.

When I was visiting my in-laws down in Georgia my Uncle Tommy gave me this cheap harbor freight pull saw that just so happened to have the exact blade thickness I needed so  I tossed the crappy handle and since it was so wobbly, I added two side rails to it for straightness and stiffness. I also mounted the side rails on the blade to coincide with the thickness of steel guide that I have been using. I mounted the guides so once resting atop the fret guide the teeth will only penetrate the fretboard at the depth i need. This makes it easy not to screw up the slots. Guide is just a piece of rectangular tool steel that I recieved  with this old Mill I had. I used to use it as a spacer for clamping and machining. I squared off the end to a perfect 90 degrees so that i can just use the long side to line it up with the fretboard and the front edge will be square. Sometimes I press a piece of wood against the side of the blade that's showing to guide and start the slot. then its a matter of how accurately you marked your slots and if you can cut exactly on that line. The pencil line width is just about the same size as the blade thickness so I just clamp the guide so that I can see the whole line and nothing more. Try not to ter up the side of the fretboard.


Fret press

I made this fret press and thought I would share it before I finish the neck making posts. I need to fret three necks so I broke down and made this press. It features 2 inch thich quarter sawn white oak. The whole unit is 21" long by 7-1/2 wide and weighs about forty pounds or more. I used a brick chisel for the press head. first I flattened and shaped the face of the chisel to accept the groove and then I ran a zip wheel over the face to get a groove to guide my file and finished the face with a small round file. The handle is I think from a snowblower or something. I said to myself, "one day I'll use those", and low and behold I used one. 
The rest is just drilling and shaping and bolting. not as easy as it sounds. for now I use vee blucks to hold the necks since the necks come off the bandsaw with a perfect beveled back, but I can easily make a block to hold fully shaped necks. It works like a charm and is much easier than hammering frets. You do still have to hammer in some of the higher frets though.


Gallery